Earlier this week I had an itch to get crafty in the kitchen. If you know me personally or ask anyone in my family you'd know this is a rare occurrence. I'm a big fan of lazy girl recipes that require little to no effort, but I am also trying to branch out and cook more of my own meals.
Enter the Almond Crisp-Crusted Turkey Burger...
a delicious, wholesome recipe that requires 0 fancy kitchen gear, ready in 30 minutes or less.
For a single serving of this recipe you'll need...
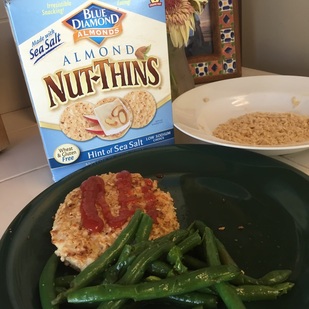
- 1/4 box of Almond Nut-Thins
- PAM spray or coconut oil spray
- 1 Kirkland brand .3 lb frozen turkey burgers (or whichever turkey burgers whether store bought or homemade that you prefer)
- 1 egg
- salt & pepper to taste
I'm going to walk you through preparing this recipe as a single serving for one, but you can easily make up to 5 Almond Crisp-Crusted Turkey Burgers with the same box of Almond Nut-Thins. Just multiply your ratio by however many burgers you wish to serve or store for future meals :)
If you're working with a frozen turkey burger - I personally love the Kirkland/Costco brand because it's full of flavor unlike some bland ,turkey burgers and packs 35 grams of protein per serving - you're going to need to pop that baby in the microwave to defrost.
If you're working with a frozen turkey burger - I personally love the Kirkland/Costco brand because it's full of flavor unlike some bland ,turkey burgers and packs 35 grams of protein per serving - you're going to need to pop that baby in the microwave to defrost.
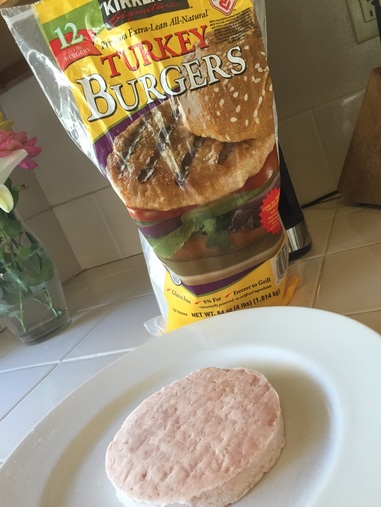 | For a .3 lb turkey burger I defrost it for two minutes - stopping every forty seconds to flip it over so it defrosts evenly. While the burger is in the microwave, get your small - medium sized fry pan ready by either spraying it with PAM of your choice or heating up some coconut oil if you prefer. When the burger is finished defrosting, take it out of the microwave and set it aside. If you're not used to working with raw meat, you'll know the burger is defrosted because It should look very pink and feel soft to the touch. |
Now comes the fun part!

Grab those gluten-free goody crackers and toss them into a Ziploc bag. I used a quart sized bag to demonstrate approximately how many crackers you'll be using if you're making just a single burger. Fill the quart sized ziploc up until the crackers almost reach the label box or adjust accordingly depending on how many servings you want to make.
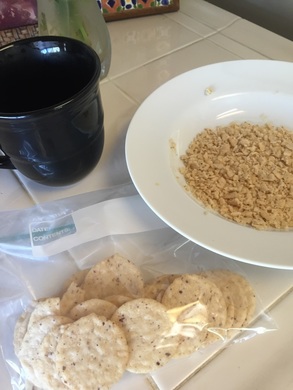
Find your favorite, mama sized mug and start crushing it down on those crackers until they reach a crumb consistency. Just be careful if you're using a glass mug not to smash too hard or you'll crack it! You could also throw the crackers in a food processor if you want, but I prefer this method because A) it eliminates one more dish I have to clean and B) it's pretty dang fun to pummel those crackers not gonna lie.
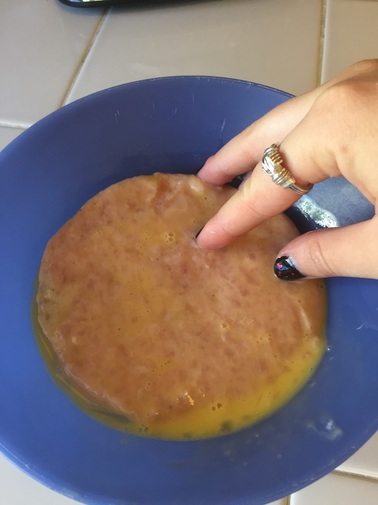
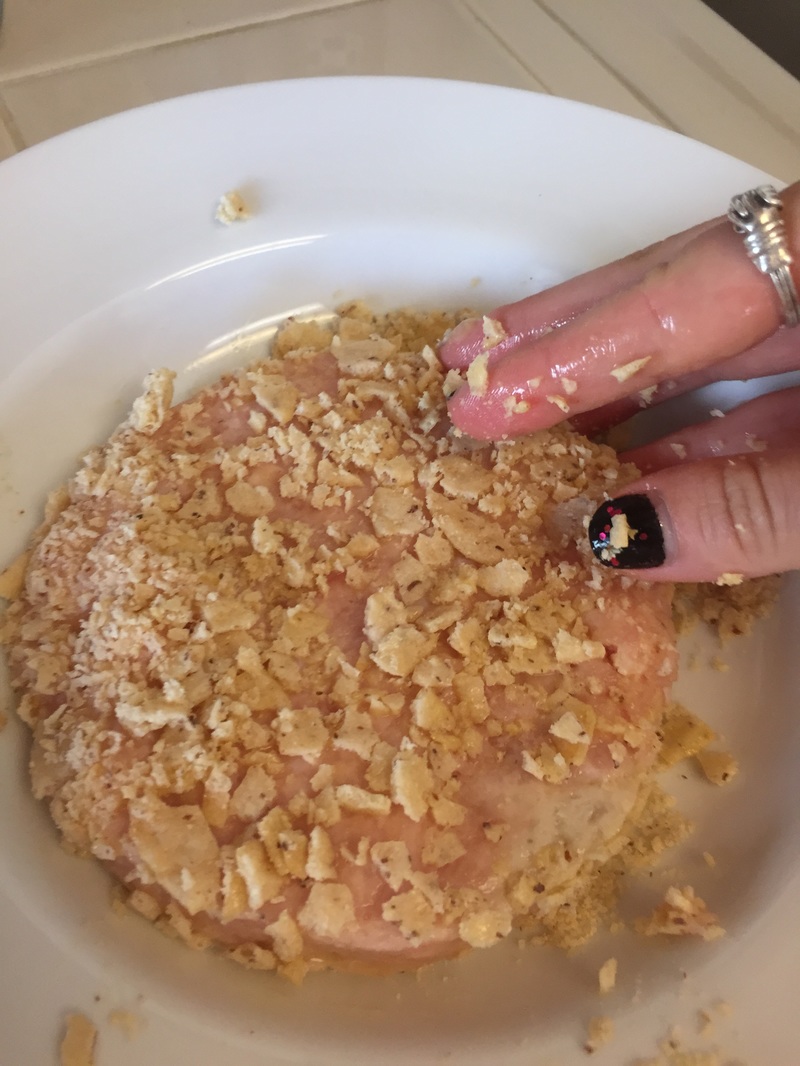
When your gluten free "bread crumbs" are all ready to go, take your egg and crack it into a separate bowl. Scramble it until it's all mixed and carefully dip your turkey burger in the egg. Be sure to coat both sides but be gentle when you lift it as the raw meat can easily fall apart.
Next, dip both sides of the egg coated turkey burger in the Almond Nut-Thin crumbs (again, being careful not to tear the burger) and transfer it to your pan pre-coated with PAM or oil.
Next, dip both sides of the egg coated turkey burger in the Almond Nut-Thin crumbs (again, being careful not to tear the burger) and transfer it to your pan pre-coated with PAM or oil.
 |  |
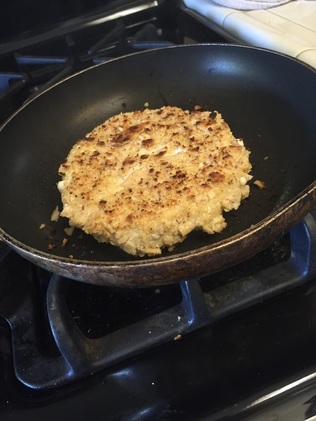
Allow the burger to cook on medium flame for five minutes before flipping. Cook the other side of the burger for five minutes and then flip again and allow the burger to cook for two to three more minutes on each side to ensure that your burger is cooked all the way through. If you see the cracker coating beginning to burn, lower your flame.
And voila! All that's left to do is serve your protein-packed, gluten-free main course with the pairings of your liking. Pull out a gluten free bun, a lettuce wrap, melt some cheese on top, sprinkle some parmesan, or just drizzle some ketchup like I did. Not only is this dish incredibly tasty, allergy friendly, and healthy but it's versatile enough to pair with any side dish you feel like whipping up or have lying around. I enjoyed mine with some leftover garlic, green beans but it would be delicious with some mashed potatoes, sweet potato fries, or fruit salad too.
Let me know in the comments if you give this good lookin' burger a cookin' and what you paired it with. Also a big thanks to Jill Conyers & Jessica Joy for hosting The Fit-Dish Link Up; it's my first time participating and I'm excited to connect with everyone!


 RSS Feed